
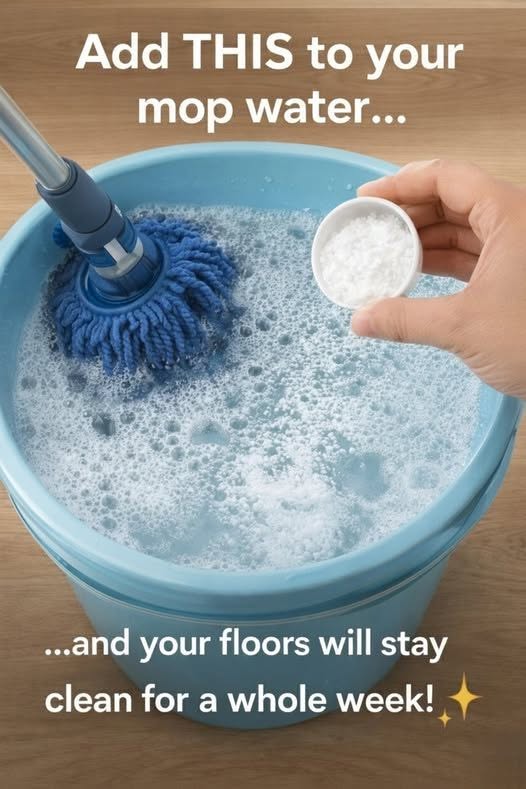
Have you ever cleaned your floors, only to notice streaks, dull patches, or footprints appearing again just a few hours later? It can be frustrating to spend time cleaning your home and still feel that the floors do not look as fresh as they should.
The good news is that achieving cleaner-looking floors does not always require expensive products or complicated cleaning routines. Sometimes, the biggest difference comes from using less cleaning solution, removing excess dirt before mopping, and drying the floor properly.
This simple floor-cleaning trick has become a useful household routine for people who want their floors to look cleaner without spending extra money on specialized products.
If you have been struggling with cloudy streaks or sticky residue, here is a practical method worth trying.
Why Your Floors Still Look Dirty After Cleaning
Before changing your cleaning routine, it helps to understand why floors sometimes look worse than expected after mopping.
Several common problems can leave behind streaks or a dull appearance.
1. Using Too Much Cleaning Product
It may seem logical that more detergent means cleaner floors, but excessive cleaning solution can leave a thin residue behind.
As the floor dries, that residue may attract dirt or create cloudy marks, especially when the product is not designed for the particular flooring material.
2. Using Dirty Mop Water
When mop water becomes heavily soiled, you may end up spreading dirt across the floor instead of removing it.
This is particularly noticeable in kitchens, entryways, and other areas that receive frequent foot traffic.
3. Skipping the Sweeping Step
Dust, crumbs, hair, and small particles can mix with water during mopping. Instead of lifting away cleanly, they may leave smears or collect in corners.
Removing loose dirt first makes the entire cleaning process more effective.
4. Using the Wrong Cleaning Method
Different floors have different needs. Ceramic tile, sealed vinyl, laminate, hardwood, and natural stone should not all be cleaned in exactly the same way.
A product that works well on one surface may damage another, particularly if the surface is sensitive to moisture, acids, or abrasive ingredients.
The Simple Floor Trick That Can Make a Difference
The secret is to remove loose dirt first, use a small amount of a suitable cleaner, and avoid leaving excess water on the floor.
You do not need a complicated homemade mixture to get started. A microfiber mop and a properly diluted cleaner recommended for your floor type are often enough.
What You Will Need
- A broom or vacuum cleaner suitable for your flooring.
- A microfiber mop.
- A clean bucket.
- Lukewarm water, if appropriate for your floor.
- A floor cleaner compatible with your flooring material.
- A clean, dry microfiber cloth for small areas or remaining moisture.
Always follow the cleaning product’s label. Avoid mixing different cleaning chemicals, especially bleach with vinegar, ammonia, or other cleaners.
Step-by-Step Instructions
Step 1: Remove Dust and Loose Dirt
Sweep or vacuum the entire floor before adding water.
Pay particular attention to corners, areas beneath tables, and spaces around furniture where dust and hair tend to collect.
This step helps prevent dirt from spreading across the floor during mopping.
Step 2: Prepare the Cleaning Solution
Fill a bucket with the amount of water recommended for your cleaning method, then add the appropriate amount of a floor cleaner suitable for your surface.
Avoid adding extra detergent in the hope of getting a better result. Too much product can leave residue that makes the floor look dull or feel sticky.
For natural stone, hardwood, and laminate, use only products approved for that material. Some surfaces require very little moisture or a specialized cleaner.
Step 3: Wring Out the Mop Thoroughly
Dip the microfiber mop into the cleaning solution and wring it out well.
The mop should be damp rather than dripping wet, particularly when cleaning wood, laminate, or other moisture-sensitive flooring.
Excess water can seep into joints, damage finishes, or cause swelling in some materials.
Step 4: Mop in Small Sections
Work across the floor in manageable sections rather than attempting to clean the entire room at once.
Move the mop steadily, rinsing it whenever it becomes dirty. Replace the cleaning water when it becomes visibly soiled.
This helps prevent dirt from being transferred back onto areas you have already cleaned.
Step 5: Remove Remaining Residue if Necessary
If your floor cleaner requires rinsing, follow the label instructions and use clean water for the rinse.
If you notice a sticky or cloudy film after cleaning, the cause may be excess product or a cleaner that is not appropriate for your flooring.
Do not automatically apply more detergent. Instead, check the product instructions and clean the affected area using the recommended method.
Step 6: Allow the Floor to Dry
Let the floor dry completely before walking across it whenever possible.
For moisture-sensitive surfaces, remove excess water promptly with a suitable clean cloth or mop.
Keep children and pets away from wet areas until they are safe to walk on, since damp floors can be slippery.
Why the Microfiber Mop Makes a Difference
A microfiber mop can help collect fine dust and everyday dirt without requiring excessive amounts of cleaning solution.
Its effectiveness depends on the quality of the mop, how dirty the surface is, and how it is used. A dirty mop head can spread grime, so it should be washed regularly according to the manufacturer’s instructions.
For best results, keep a separate mop head for particularly dirty areas, such as kitchens or entryways, and avoid using the same dirty water throughout the home.
Common Floor-Cleaning Mistakes to Avoid
Even a good cleaning routine can be less effective if a few common mistakes are repeated.
Using too much water: Excess moisture can damage wood, laminate, and floors with vulnerable joints.
Mixing household chemicals: Combining cleaning products can produce dangerous fumes or chemical reactions. Use one compatible product at a time.
Using vinegar on every surface: Vinegar is acidic and can damage marble, limestone, and other acid-sensitive stone. It may also affect certain finishes.
Using abrasive scrubbers: Rough pads and abrasive powders can scratch delicate finishes and leave permanent marks.
Ignoring product instructions: Some cleaners require dilution, rinsing, or specific drying conditions. Follow the manufacturer’s directions.
Mopping without sweeping: Loose dirt can create smears and may scratch some floor finishes when dragged across the surface.
How to Keep Your Floors Cleaner for Longer
 Continued on the next page
